


Measuring And Adjusting Ph For Gardening
 Milosh Potikj
| April 02, 2023 | 6 MIN READ
Milosh Potikj
| April 02, 2023 | 6 MIN READ
Measuring and adjusting pH levels is a fundamental aspect of successful gardening, whether you're growing plants in soil, hydroponics, or other growing mediums. pH directly affects nutrient availability and the overall health and growth of plants. Understanding how to measure and adjust pH levels is essential for creating an optimal environment for your plants to thrive.
What Is pH?
pH is an important measurement in chemistry and biology because it measures the alkalinity or acidity of a solution on a scale from 1 to 14. It's believed that the abbreviation stands for “power of Hydrogen” or “potential for Hydrogen” because the concentration of hydrogen ions can be used to determine how acidic or alkaline a substance is.
A pure, ideal solution is pH 7, which is considered neutral on the scale since it does not really have any acidity or alkaline qualities. As you move down the scale from 7, the concentration of hydrogen ions increases and leads to increasingly acidic solutions.
Conversely, as you move up the scale from 7, there will be fewer hydrogen ions and more base molecules leading to increasingly basic solutions.
Measuring pH
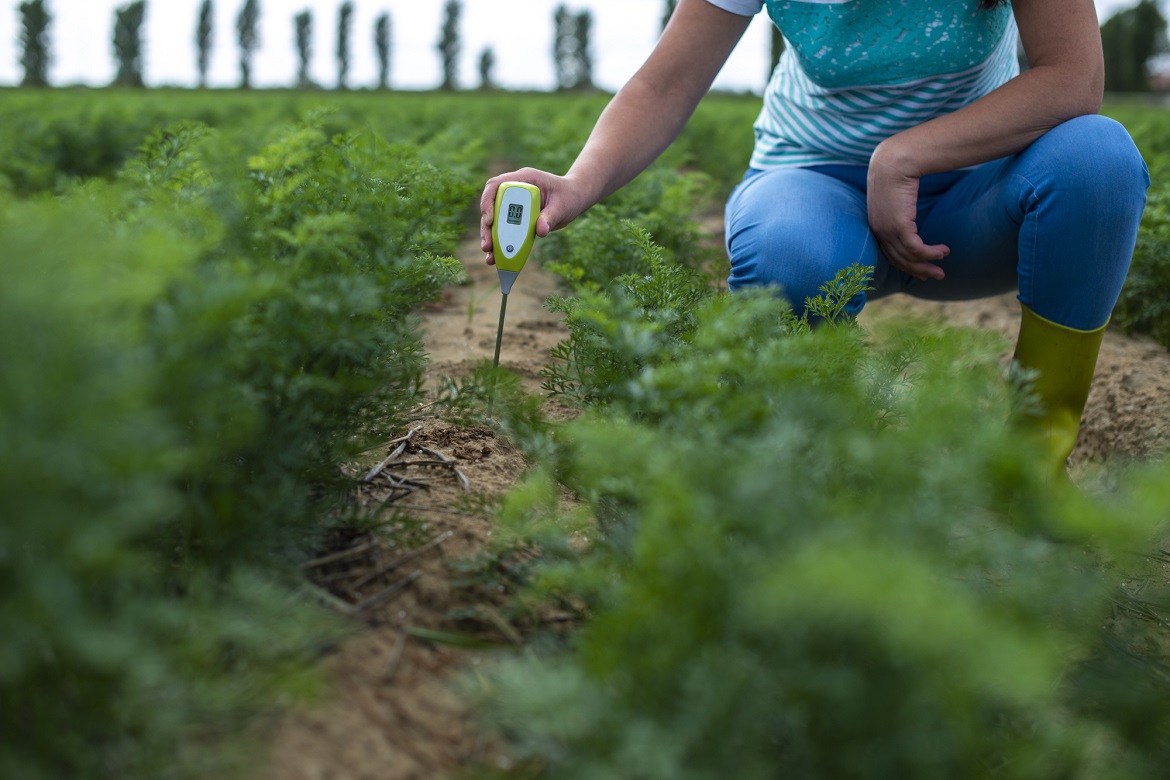
Discover the secret to a thriving garden by mastering the art of measuring pH levels! Learn how to accurately assess soil acidity of soil or alkalinity to create the perfect environment for your plants. In this guide, we'll explore the importance of pH in gardening and provide essential tips for effective monitoring.
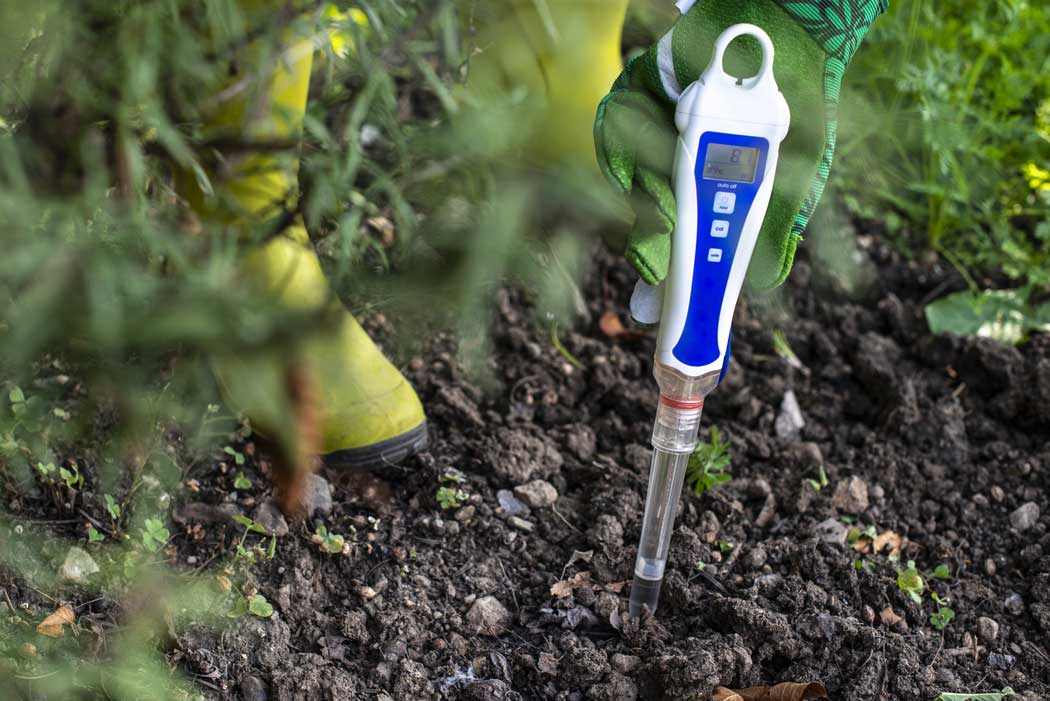
Step One: Using a pH Pen
Before using a pH Pen to measure anything it is important to inspect the pen thoroughly. Before turning the unit on, check the condition of the probe. The probe should be clean and clear, not cloudy or dried out. Dry probes need to be rehydrated before they can be used correctly.
If any damage is noticed, then the probe should not be used and you should consult with a professional to get a replacement probe.
Once everything is checked, turn on the unit before bringing it into contact with whatever material you are measuring. Depending on your brand of pH Pen, there may be indicators on the screen or other components that let you know if it is running properly or not.
If all indicators look good, then proceed with caution when bringing it in contact with materials you are measuring since moisture damage can occur quickly if done improperly.
Step Two: Calibrate pH Pen
Proper calibration of a pH pen is essential in order to ensure accuracy when testing solutions. The calibration process involves immersing the pH pen into a solution with a known and specific pH level. This allows the measuring instrument to adjust and calibrate itself to the exact standards needed for accurate readings.
For reliable results, it is necessary to regularly check that the instrument has remained calibrated by checking the displayed value against a known or certified reference value. If it does not match, then further calibration attempts should be undertaken until desired accuracy is achieved.
Step Three: Stir Solution And Place pH Pen Into Solution And Wait For Reading To Appear
Step three of ensuring accurate pH levels is to stir the solution and then place the pH pen into it. This step involves thoroughly mixing the solution, preferably with a non-metallic implement, to ensure an even distribution of chemicals in the solution. This is an important step as if the chemicals in the solution are not properly dispersed, any readings taken could be unreliable.
Once stirred, carefully insert the pH pen into the solution at a central location and wait for the reading to appear on its display. When dipping the probe into your liquid material make sure to hold it in still for about 10 seconds before pulling it out for a more exact result.
Depending on your pen, different manufacturers may have unique instructions that should be followed exactly. It is important that you follow these instructions closely to guarantee accuracy in results and get best performance from your device while using it within its range limits.
Step Four: If Needed, Add pH Up or Down To Adjust The pH Of Your Solution
When it comes to adjusting the pH of a solution, caution is key. Too much of either pH Up or Down can lead to overshooting your desired level and immediately render the solution unusable.
For this reason, it's important to go slowly and add small amounts when making adjustments. An eye-dropper is an invaluable tool for this purpose as it can very precisely measure out tiny amounts of adjusting solution.
The process goes like this: check the current pH with a tester. If it needs to be adjusted, begin by adding very small amounts of pH Up or Down - whatever you are using - at a time and re-testing after each addition.
This iterative process should be repeated until the desired level is achieved. Keep in mind that if you make a mistake causing an overshoot, you should discard the solution and start again, do NOT attempt to adjust with the opposite agent as that could cause further complications.
Step Five: Take Another Reading
Once the pH of a solution has been adjusted, another reading should be taken with the pH pen to make sure the desired level has been achieved. This can be done by adding a small amount of pH adjusting solution, and then taking another perception with the pen.
It may take several tries before reaching an ideal pH level, if more adjustment is needed, the process should simply be repeated until it is achieved.
Checking multiple readings with a pH pen is important in order to guarantee that your desired level of acid soil or basicity has been reached. It prevents over-adjustment or careless measurement which could lead to inconsistencies or inaccuracies when samples are taken.
Additionally, this step provides assurance that any processes relying on accurate pH reading are performed correctly for optimal results.
Step Six: Record Your Findings
When adjusting the pH of a solution, it's important to take notes of the amount of pH adjustment solution you add. This will enable you to adjust the same volume of solution more accurately and efficiently in the future.
The magnitude of pH-adjustment varies depending on the size and original pH of your solution – if only adding a few drops or multiple ounces. Record every step and detail so that it is easy to replicate in subsequent applications.
Step Seven: Properly Store pH Pen
Properly storing a pH pen is essential to its accurate and reliable readings. When a pH pen is properly stored, it ensures that the accuracy of the probe will be preserved between uses. It also prevents the probe from drying out and becoming damaged when not in use.
The most common way to store a pH pen is by immersion in a storage solution specific to the brand and model of the device. Different manufacturers typically have their own proprietary solutions that are designed to keep the probe wet and ready for use.
If Using a Visual pH Checking Solution To Measure
Using a visual pH checking solution to measure the pH level of your hydroponic plants is an easy and accurate way to monitor the healthy growth of your hydroponic garden. The process follows standard protocol for using a pH pen to determine acidity level or alkaline soil levels, but instead uses testing solution.
All you need to do is take samples from each growing area, then add the correct amount of test solution (per manufacturer's instructions). That's it!
Creating the ideal environment for your plants can be challenging but having the ability to accurately measure the pH balance will ensure that your crops are receiving proper nutrients. It's important to stay on top of this weekly task, as even small changes can cause big problems.